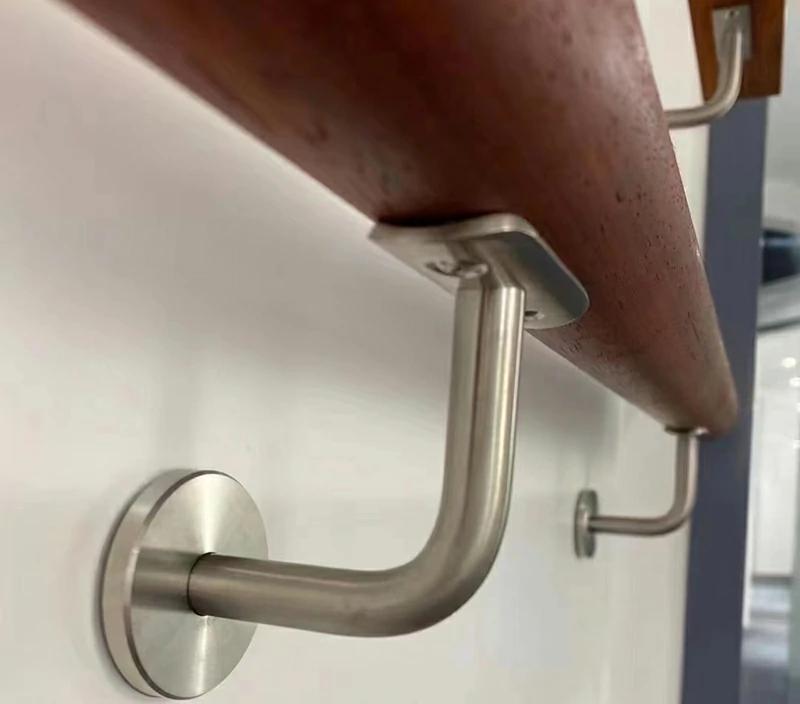
Handrail brackets play a crucial role in the installation and functionality of handrail systems, particularly in staircases, walkways, and other areas where support and stability are needed. Handrail brackets are essential components of railing systems for several reasons:
Structural support: They provide a secure connection between the handrail and the underlying structure, ensuring stability and safety.
Aesthetics: Handrail brackets can enhance the overall appearance of a railing system, adding a finished look and complementing the design.
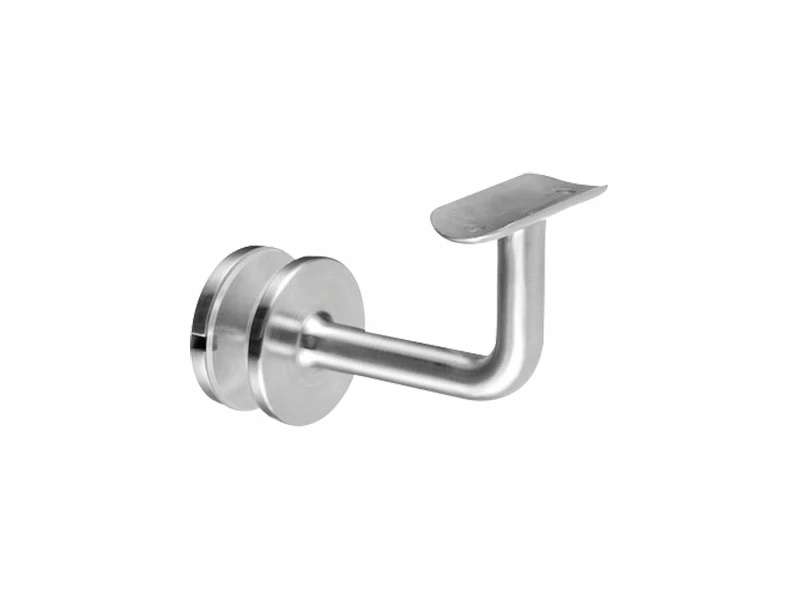
Flexibility: They offer flexibility in railing design and installation, allowing for various configurations and adjustments.
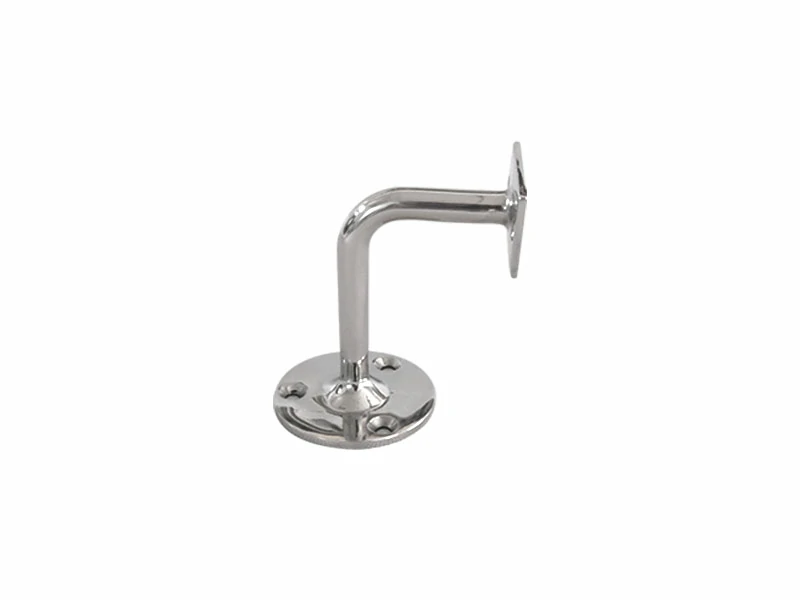
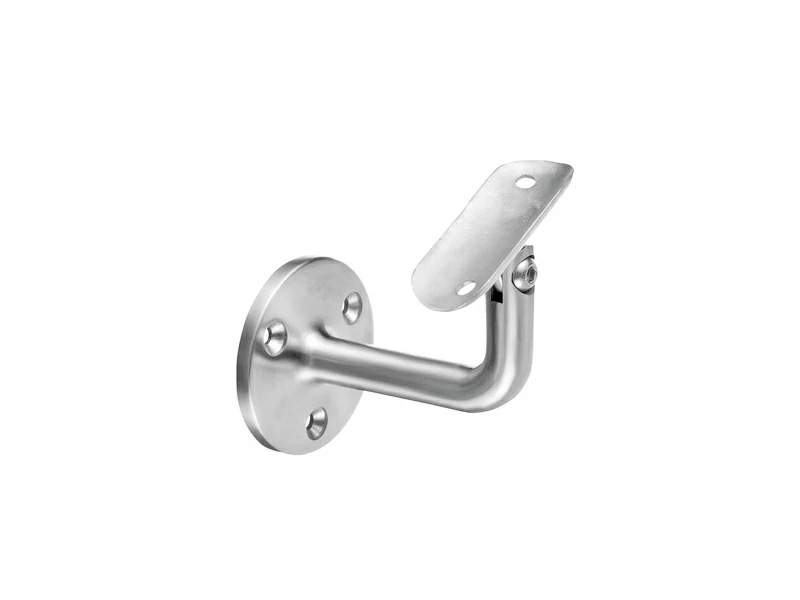
Durability: Handrail brackets are typically made from durable materials, such as stainless steel or aluminum, ensuring long-lasting performance.
Safety: They help prevent falls and injuries by providing a stable handhold.By using appropriate handrail brackets, you can create a railing system that is both functional and visually appealing.
How to Install Handrail Brackets for Railing System
To install handrail brackets, you will first need to determine the appropriate type and size of brackets needed for your handrail design and installation location. Once you have chosen the correct stainless steel handrail brackets, you can follow these general steps:
- First, determine the mounting location: Locate the position where you want to install handrail brackets on the wall, post, or other surface. Use a measuring tape, level, and pencil to make precise markings.
- Second, drill pilot holes: Use a power drill to create pilot holes at the marking points. The size of the drill bit should be slightly smaller than the screws included with the handrail bracket.
- Third, attach the brackets: Insert the screws into the pilot holes and then attach the handrail brackets to the wall, post, or other surface using a screwdriver or power drill. Make sure that the brackets are securely fastened.
- Forth, install the handrail: Slide the handrail into the brackets and secure it in place according to the manufacturer's instructions.
- Finally, Check for stability: Ensure the handrail is firmly attached and stable.
It is important to follow the manufacturer's instructions when installing stainless steel handrail brackets, as the specific steps may vary depending on the type and model of the bracket being used. Ensure that the screws or bolts are suitable for the type of wall or post you're installing the brackets on.Additionally, you may need to consult with a professional installer or contractor if you are unsure about the installation process or need help with complex handrail designs.
Tools and Materials:
Handrail brackets, Handrail sections, Drill and appropriate bits, Level, Measuring tape, Screws or bolts, Pencil.