Glass railings (balustrades) gives a look of unequivocal elegance and complements a modern decor. There are many companies offering custom-made balustrades, they are typically much more expensive than DIY stainless steel handrail installation kits that can be purchased and installed by you. Glass railings (balustrades) are clear view, modern, functional, and durable and are a great choice for both residential and commercial applications. They are quicker and easier to be installed, easier for cleaning and will last for many years. Glass railings (balustrades) can be used on decks and patios, or for staircases inside and outside of the doors.
Highco Metal is producing various glass railing (glass balustrade) fittings, also called handrail fittings, suitable for your DIY stainless steel handrail installation works. Here you will find the information needed to prepare a staircase for installation, and the installation of the frame for the balustrade. To install stainless steel handrail systems, follow these steps:

Preparation:
1. Measure and plan
Start by measuring the length of the area where you want to install the handrail. Consider the height and any angles or corners that may be present. Plan the layout of the handrail system accordingly.
2. Materials and Tools
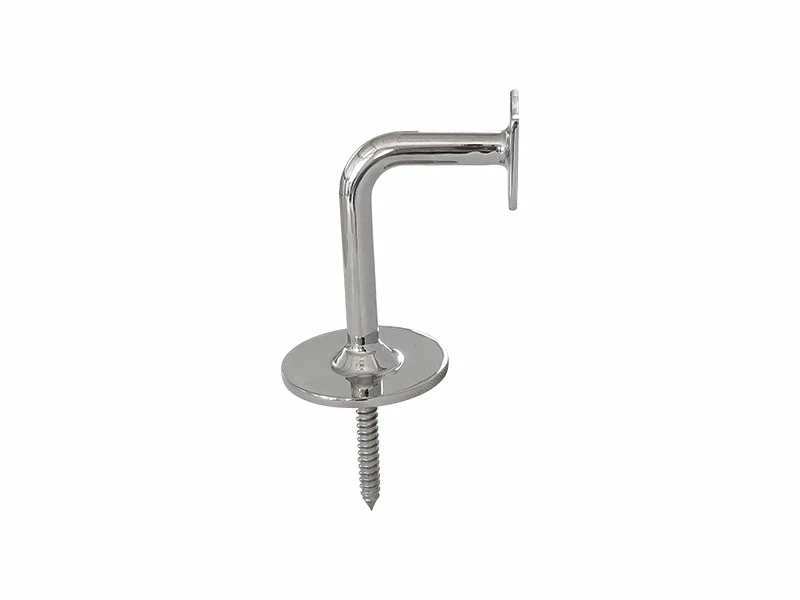
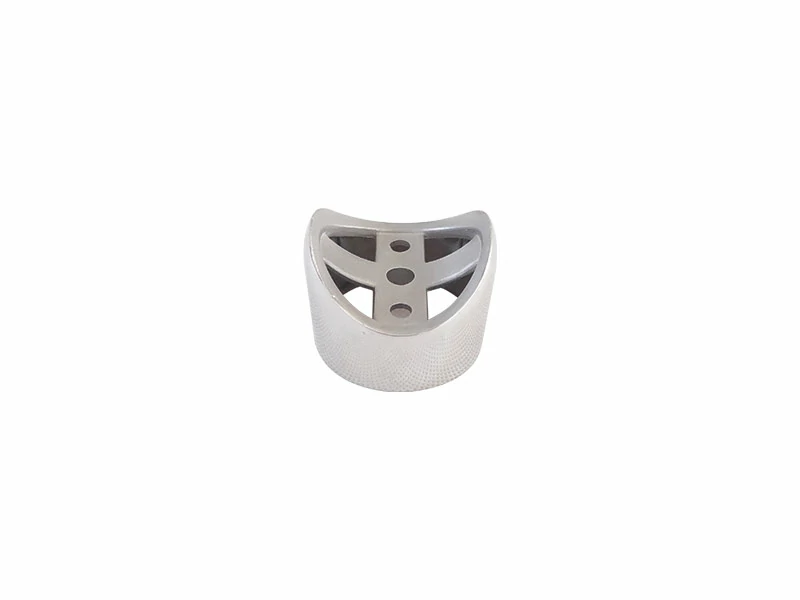
Stainless steel handrail components (including handrail, brackets, end caps, fittings, etc.)
Measuring tape
Level
Drill
Screwdriver
Mounting hardware (anchors, screws, etc.)
Allen wrench
Silicone adhesive (optional)
3. Gather materials
Purchase all the necessary materials for the stainless steel handrail installation, including handrail components such as posts, brackets, handrail tubing, connectors, and screws. Make sure to choose high-quality materials that are suitable for outdoor or indoor use, depending on your installation location.
4. Prepare the installation area
Clear the area where the handrail will be installed. Remove any existing handrails or obstacles that may interfere with the installation process.
Handrail Installation:
1. Marking and Mounting Bracket Placement
Use a measuring tape and level to mark the locations for the mounting brackets along the wall or posts. Ensure the brackets are evenly spaced and appropriately positioned for a secure handrail installation.
2. Install the posts
Start by installing the posts at regular intervals along the planned handrail route. Use a drill and appropriate screws or anchors to secure the posts to the floor or wall. Ensure that the posts are level and securely attached.
3. Attach the brackets
Once the posts are in place, attach the brackets to the posts. The brackets will hold the handrail tubing in place. Use screws or bolts to secure the brackets to the posts, ensuring they are level and properly aligned.
4. Cut and install the handrail tubing
Measure and cut the stainless steel handrail tubing to fit between the posts. Use a stainless steel cutting tool or a hacksaw to make precise cuts. Slide the tubing into the brackets and secure it using connectors or screws.
5. Secure the handrail
Once the handrail tubing is in place, make sure it is securely attached to the brackets. Tighten any screws or connectors to ensure a stable and safe handrail.
6. Optional Caulking or Adhesive
For added stability, you may choose to apply a clear silicone adhesive or caulking at the junctions between the handrail and brackets. This will help secure the handrail in place.
7. Test and inspect
After the installation is complete, test the handrail by applying pressure and checking for any movement or instability. Inspect the entire system to ensure all components are properly installed and secure.
Tips for installing stainless steel handrail systems:
Use stainless steel screws to prevent corrosion.
Pre-drill the pilot holes to prevent the screws from splitting the wood.
Use a level to make sure the handrail is installed straight.
Be careful not to overtighten the screws, as this could damage the handrail.
It's important to note that specific installation instructions may vary based on the type and design of the stainless steel handrail system being installed. Always refer to the manufacturer's guidelines and safety regulations when installing any handrail system. If you are unsure about any aspect of the installation process, consult a professional installer or contractor for assistance.